How to make a Simple Applique Ornament

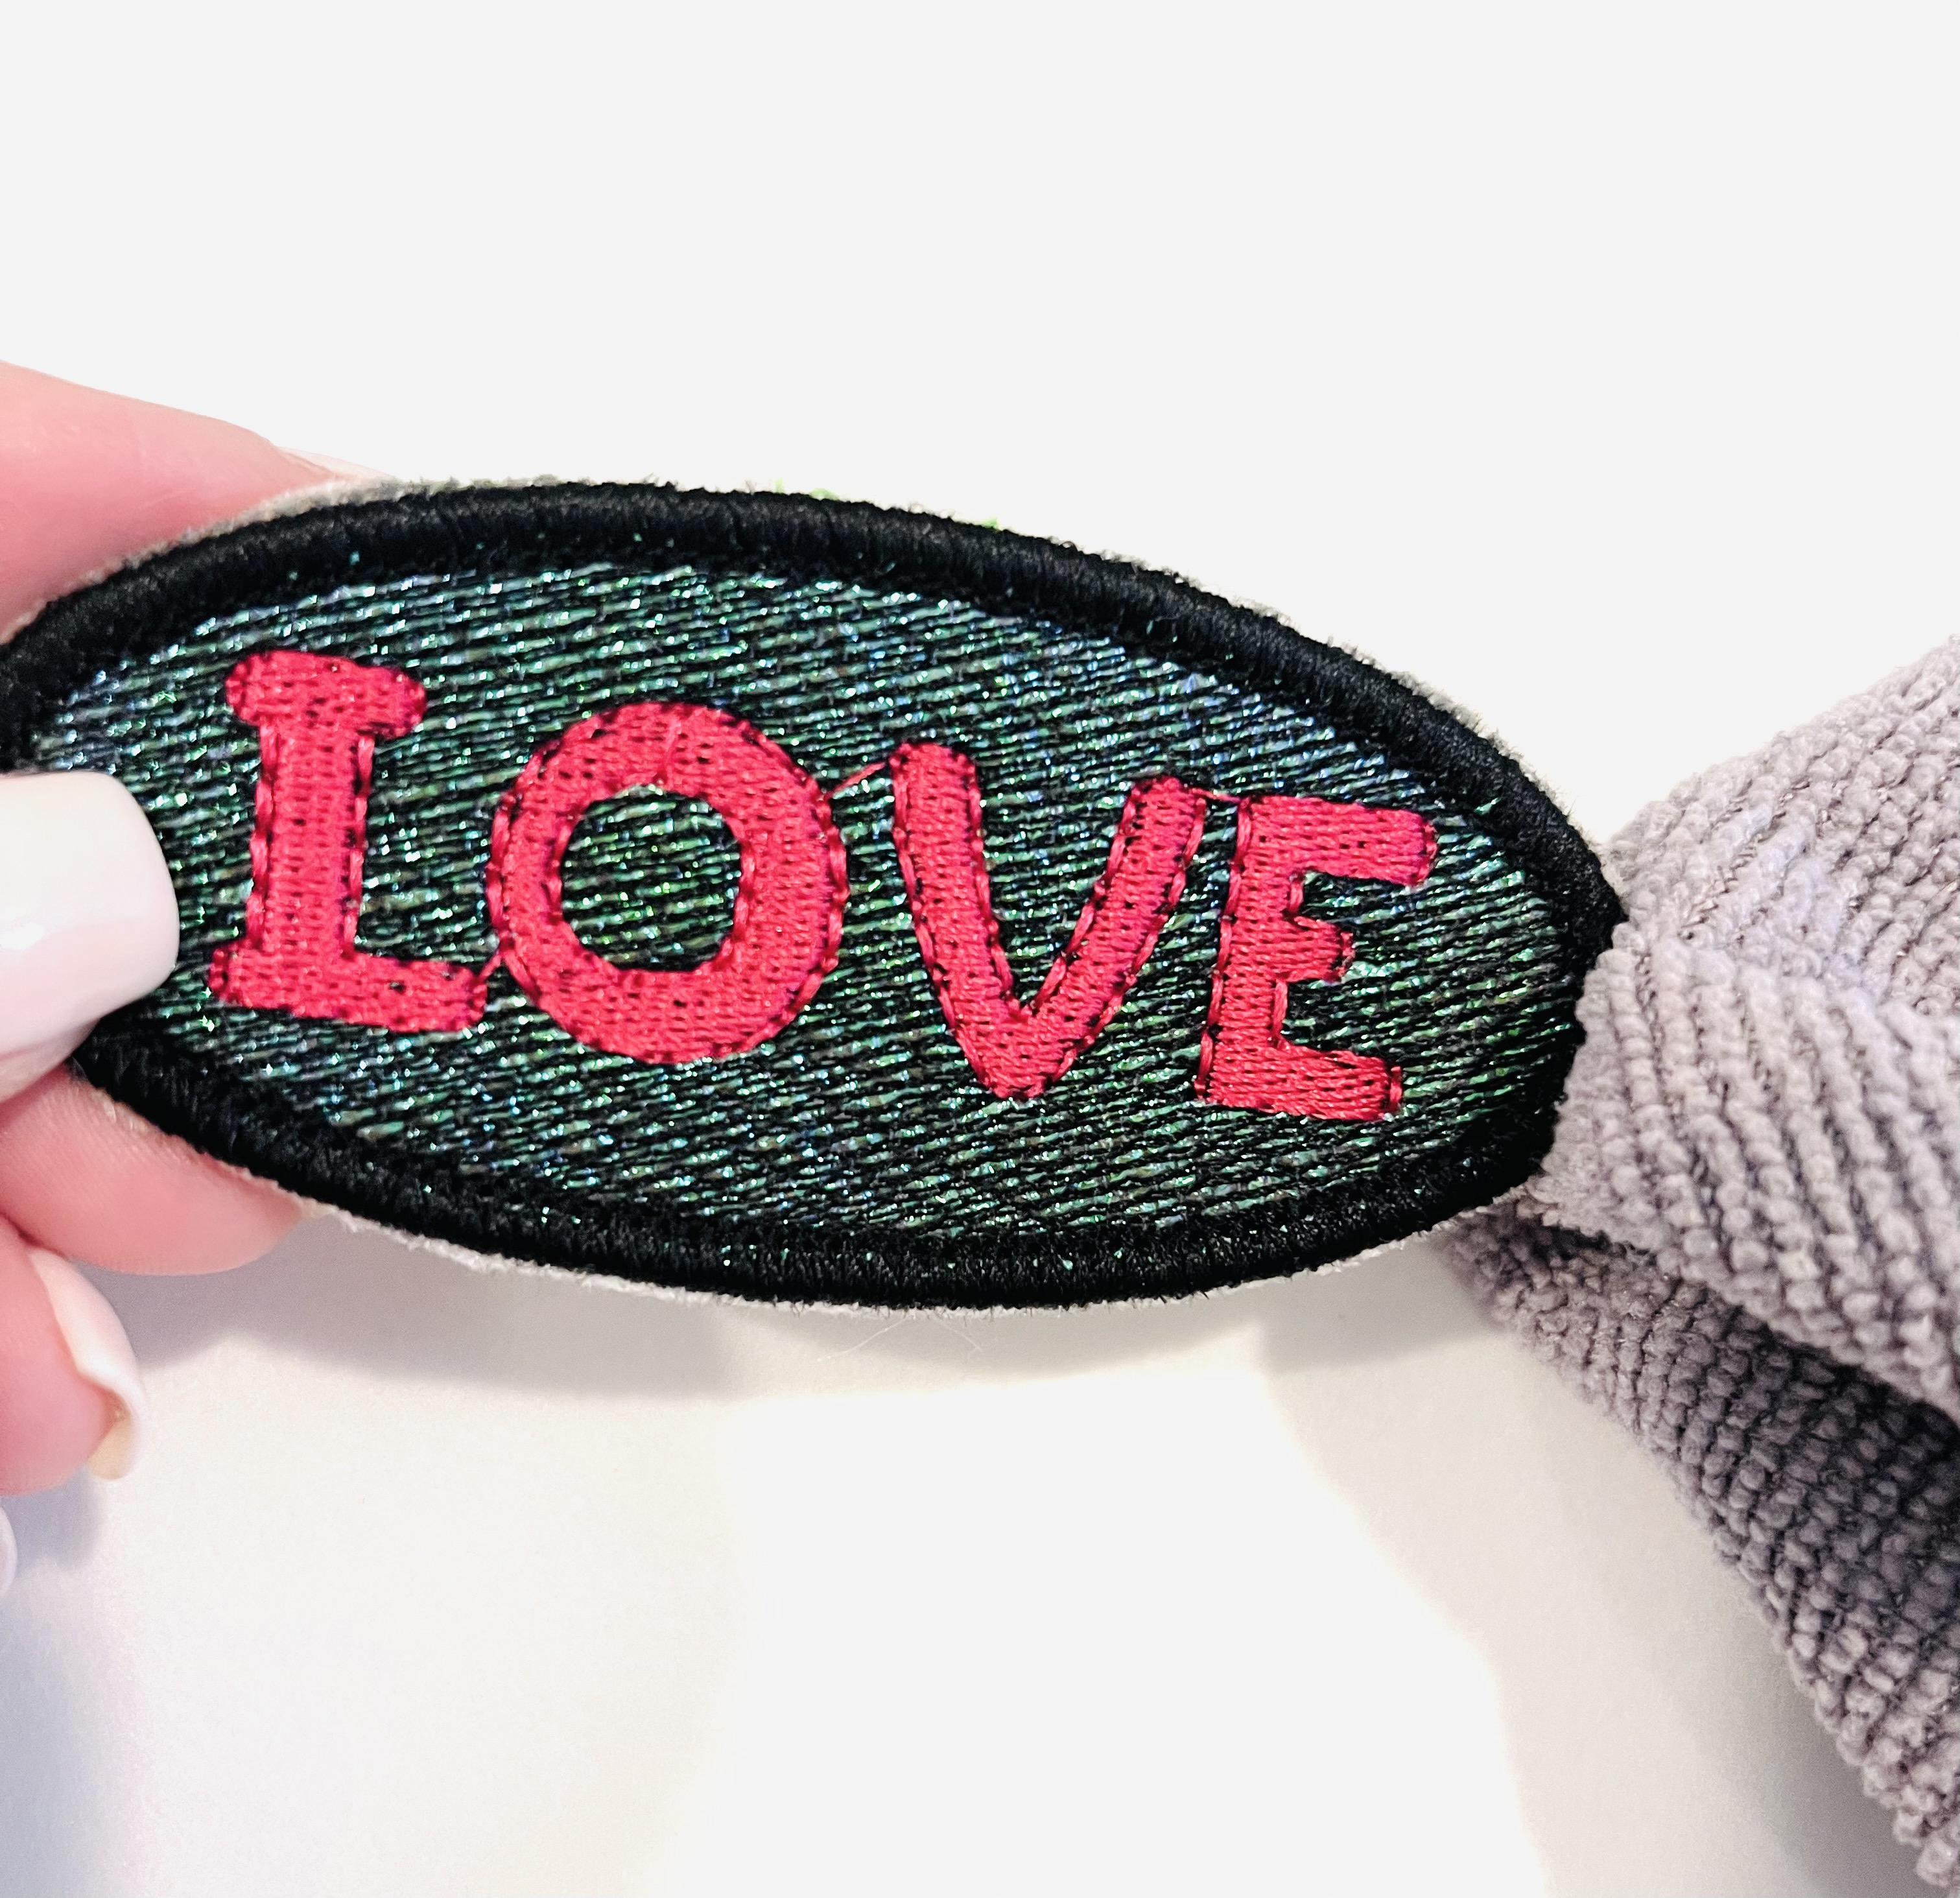
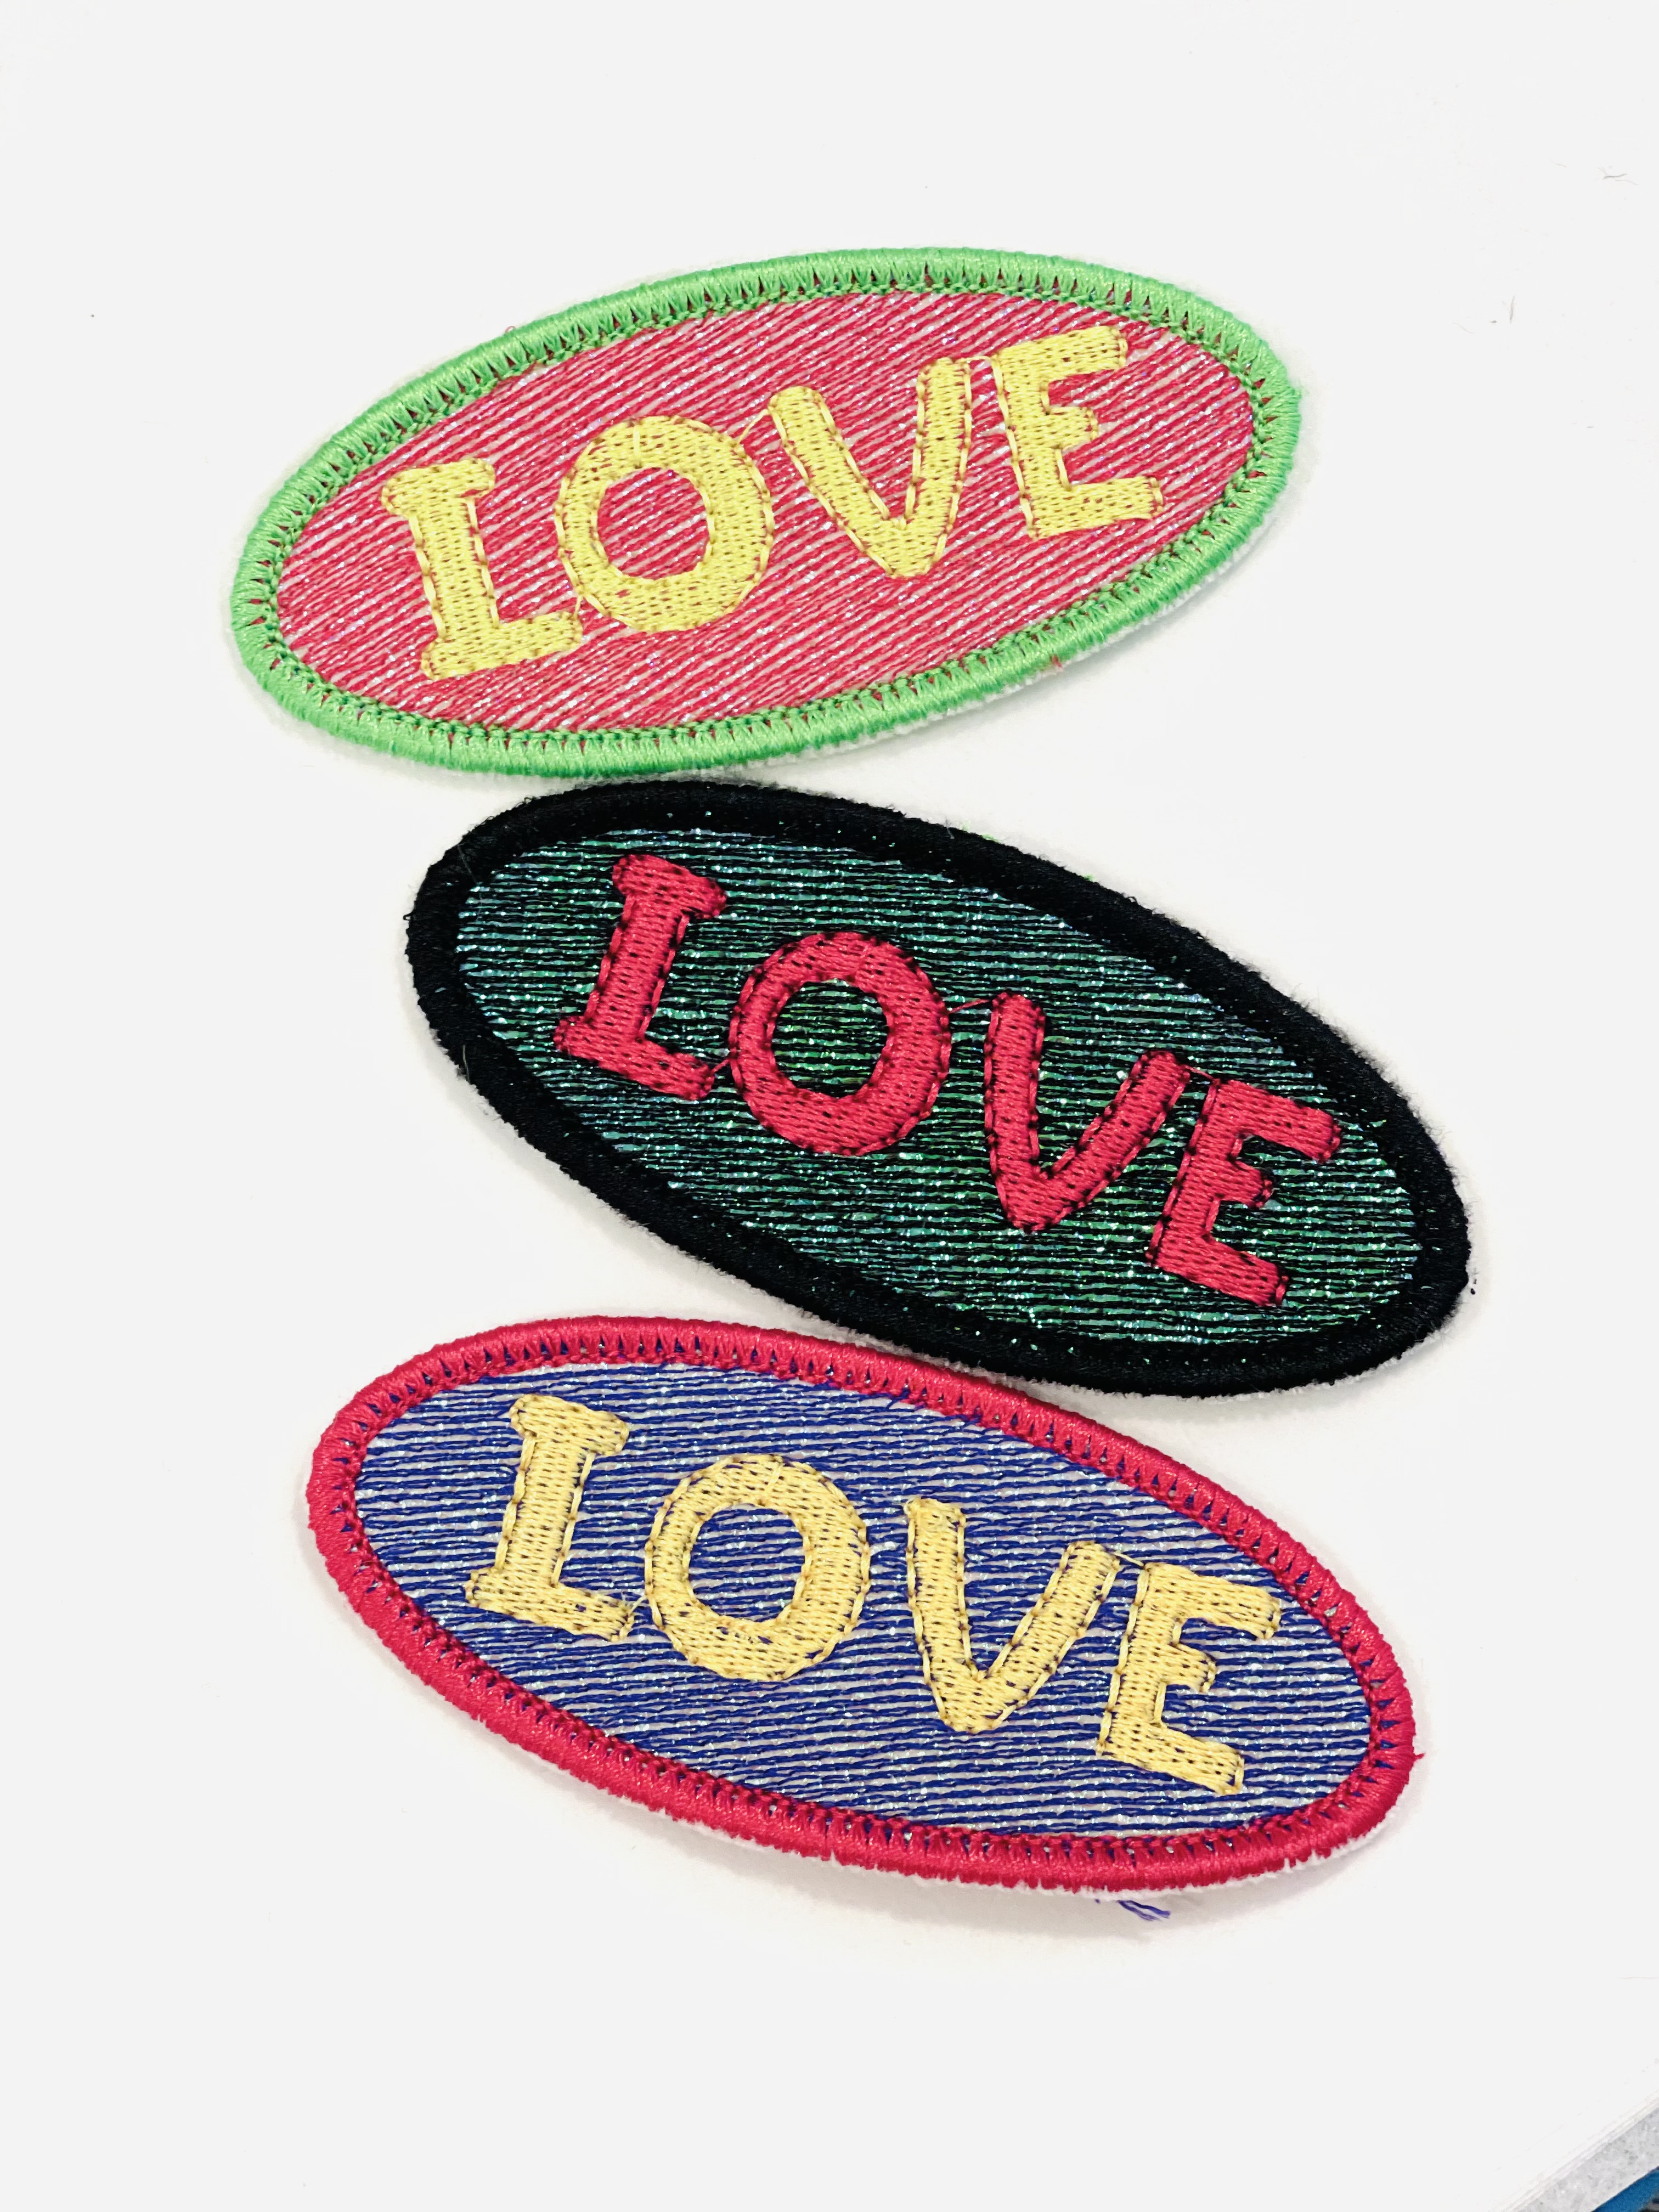
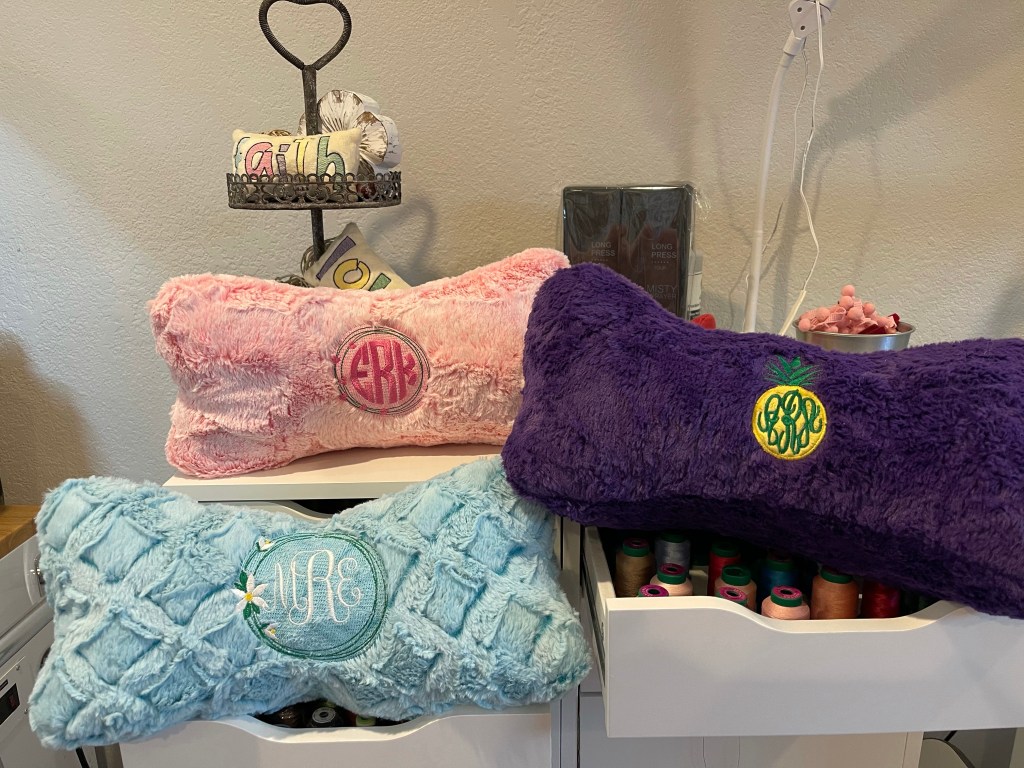
Here is a simple tutorial for making these gorgeous applique ornaments. I absolutely love making these each year to personalize for quick gifts as well as to use to designate packages for my friends and family. They make wonderful keepsakes and you can use all kinds of beautiful custom materials as the background to celebrate the people in your life and their interests!

Here are the things you will need to make these on your own embroidery machine:

  • Design File for Blank Applique Ornament from www.designsbybabymoon.com . There are three variations in this ONE file set, so you can get slightly different looks all from a single file set!
  • Embroidery Vinyl for the front and back of your ornament, 2 4inch by 4 inch pieces, like the quality tested embroidery vinyl from www.MyPunkbroidery.com.. You will also need a 2 inch x 4 inch strip of coordinating vinyl to go across the middle of the ornament for where you will add a name or the year.
  • Cutaway Embroidery Stabilizer
  • Coordinating Embroidery Thread
  • Odif 505 Spray or embroidery safe tape
  • Metal Eyelet or small 3/16 inch or 4-5 mm grommet, punch and eyelet setting tool
  • Scissors
  • Coordinating ribbon to tie a bow at the top

Let’s Get Started!

In your embroidery software, merge in the lettering or the year that you want into your ornament design. You need this lettering to be placed BEFORE the eyelet. In this photo of my screen of my Embrilliance Embroidery software, you can see that I added lettering right in the middle of the design of the Straight Lines variation, after the lines stitch the tackdown for the applique area and before the eyelet placement stitching.

Save this design as a new stitch file in the format that your embroidery machine will read and take the design to your embroidery machine on a USB, card or however you send things to your machine.

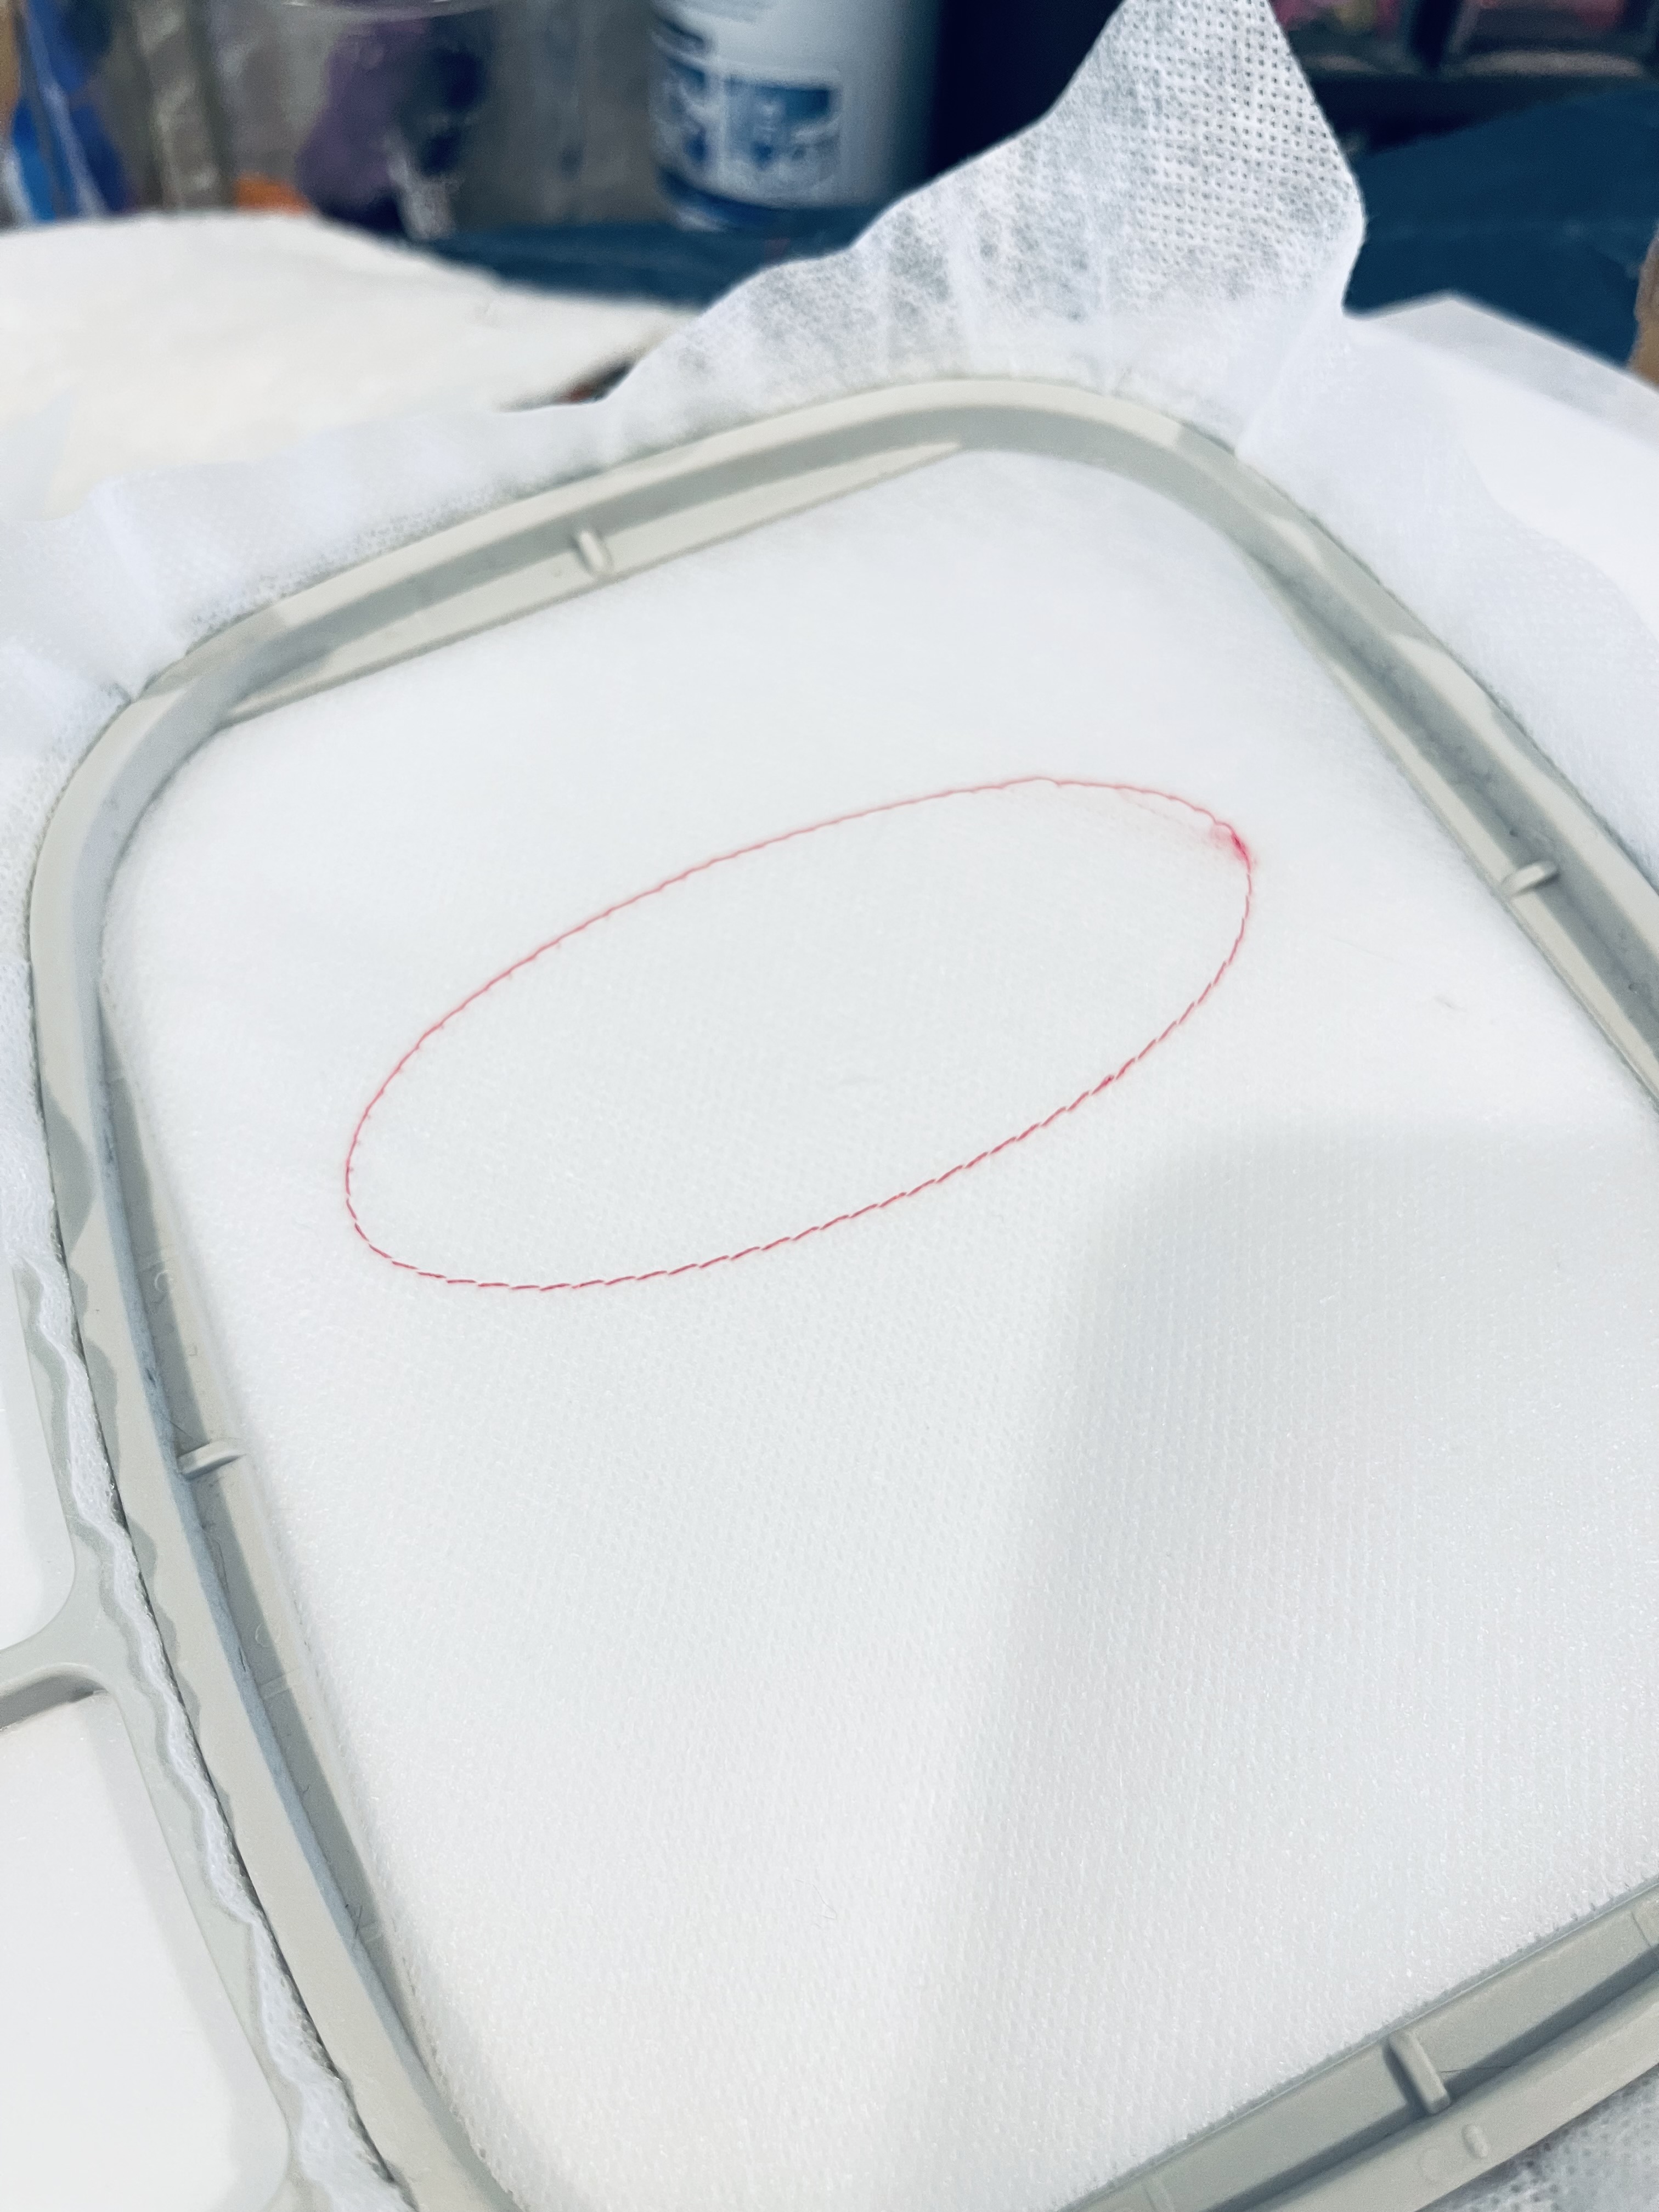
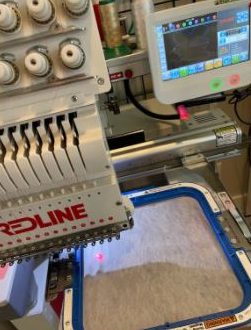
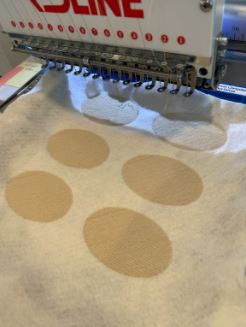
At your embroidery machine, run the placement for the design on cutaway stabilizer in your 4×4 hoop

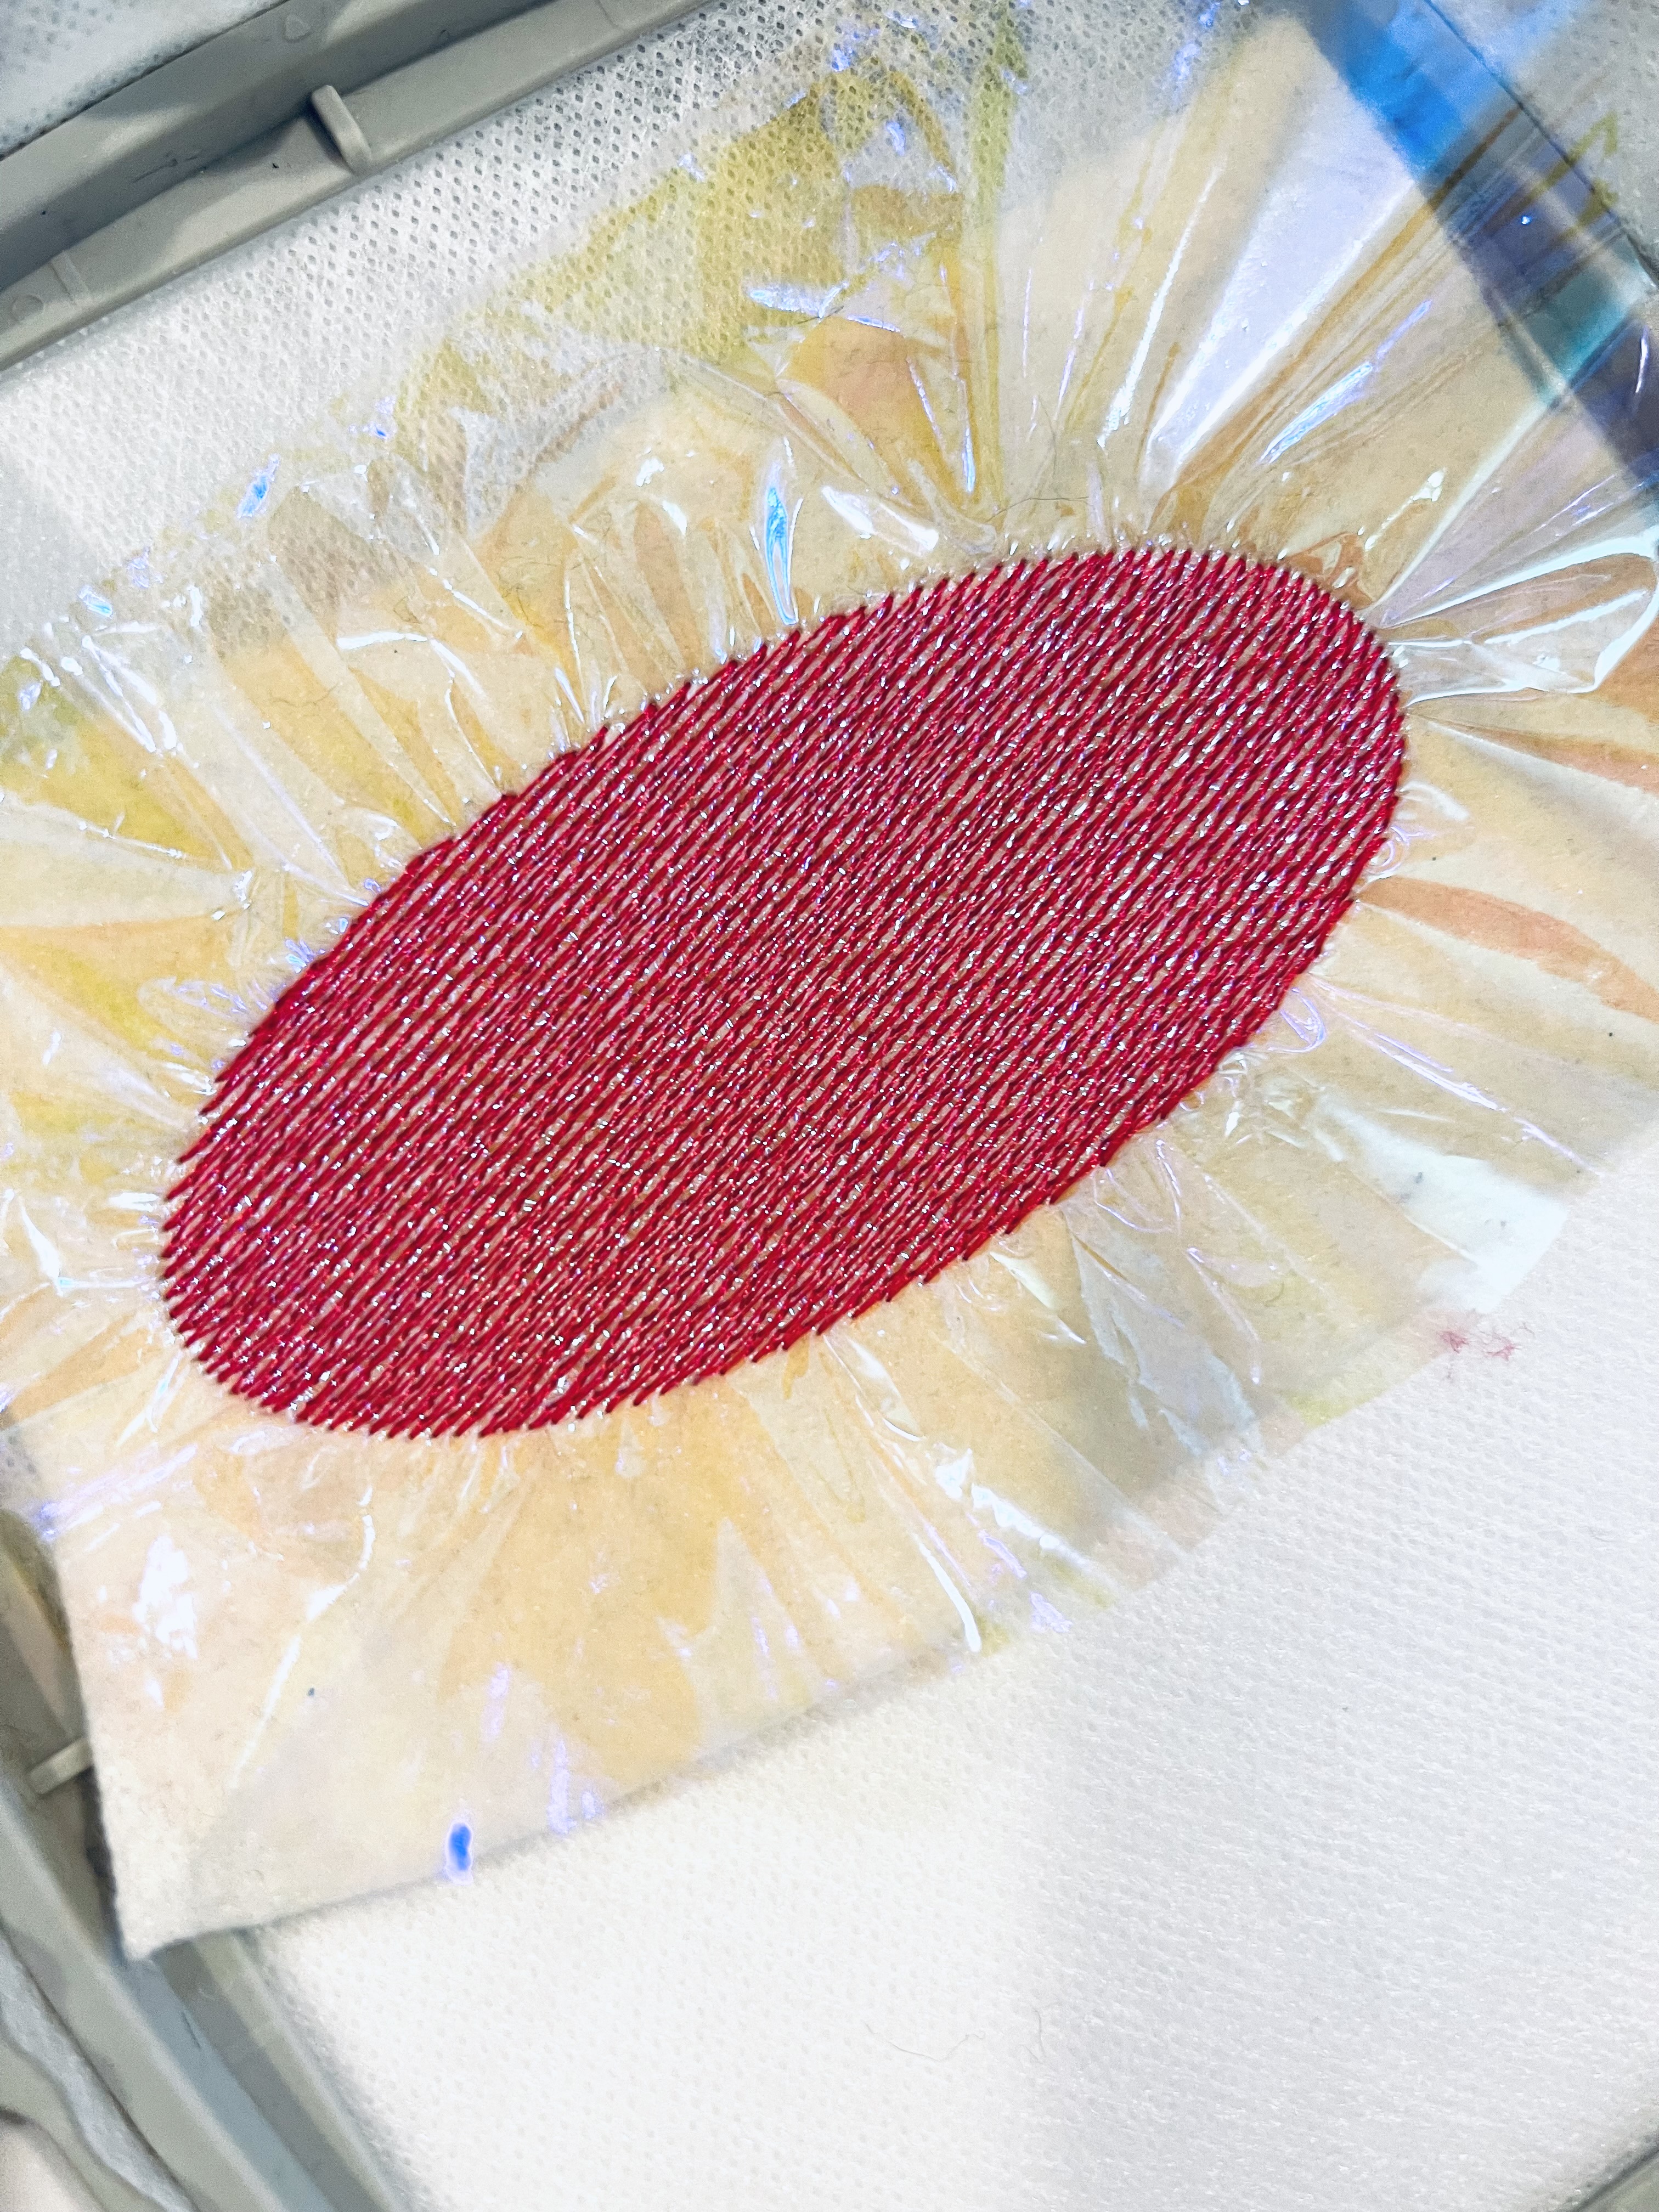
Next, lay down a piece of the background vinyl over that placement stitch so that the vinyl completely covers the placement stitching. You need enough to be able to cut a nice 1/8″ or 3-4 mm border after you are done stitching.

Run the placement lines so you can see where to lay the contrast strip for the name area in the center of the ornament.

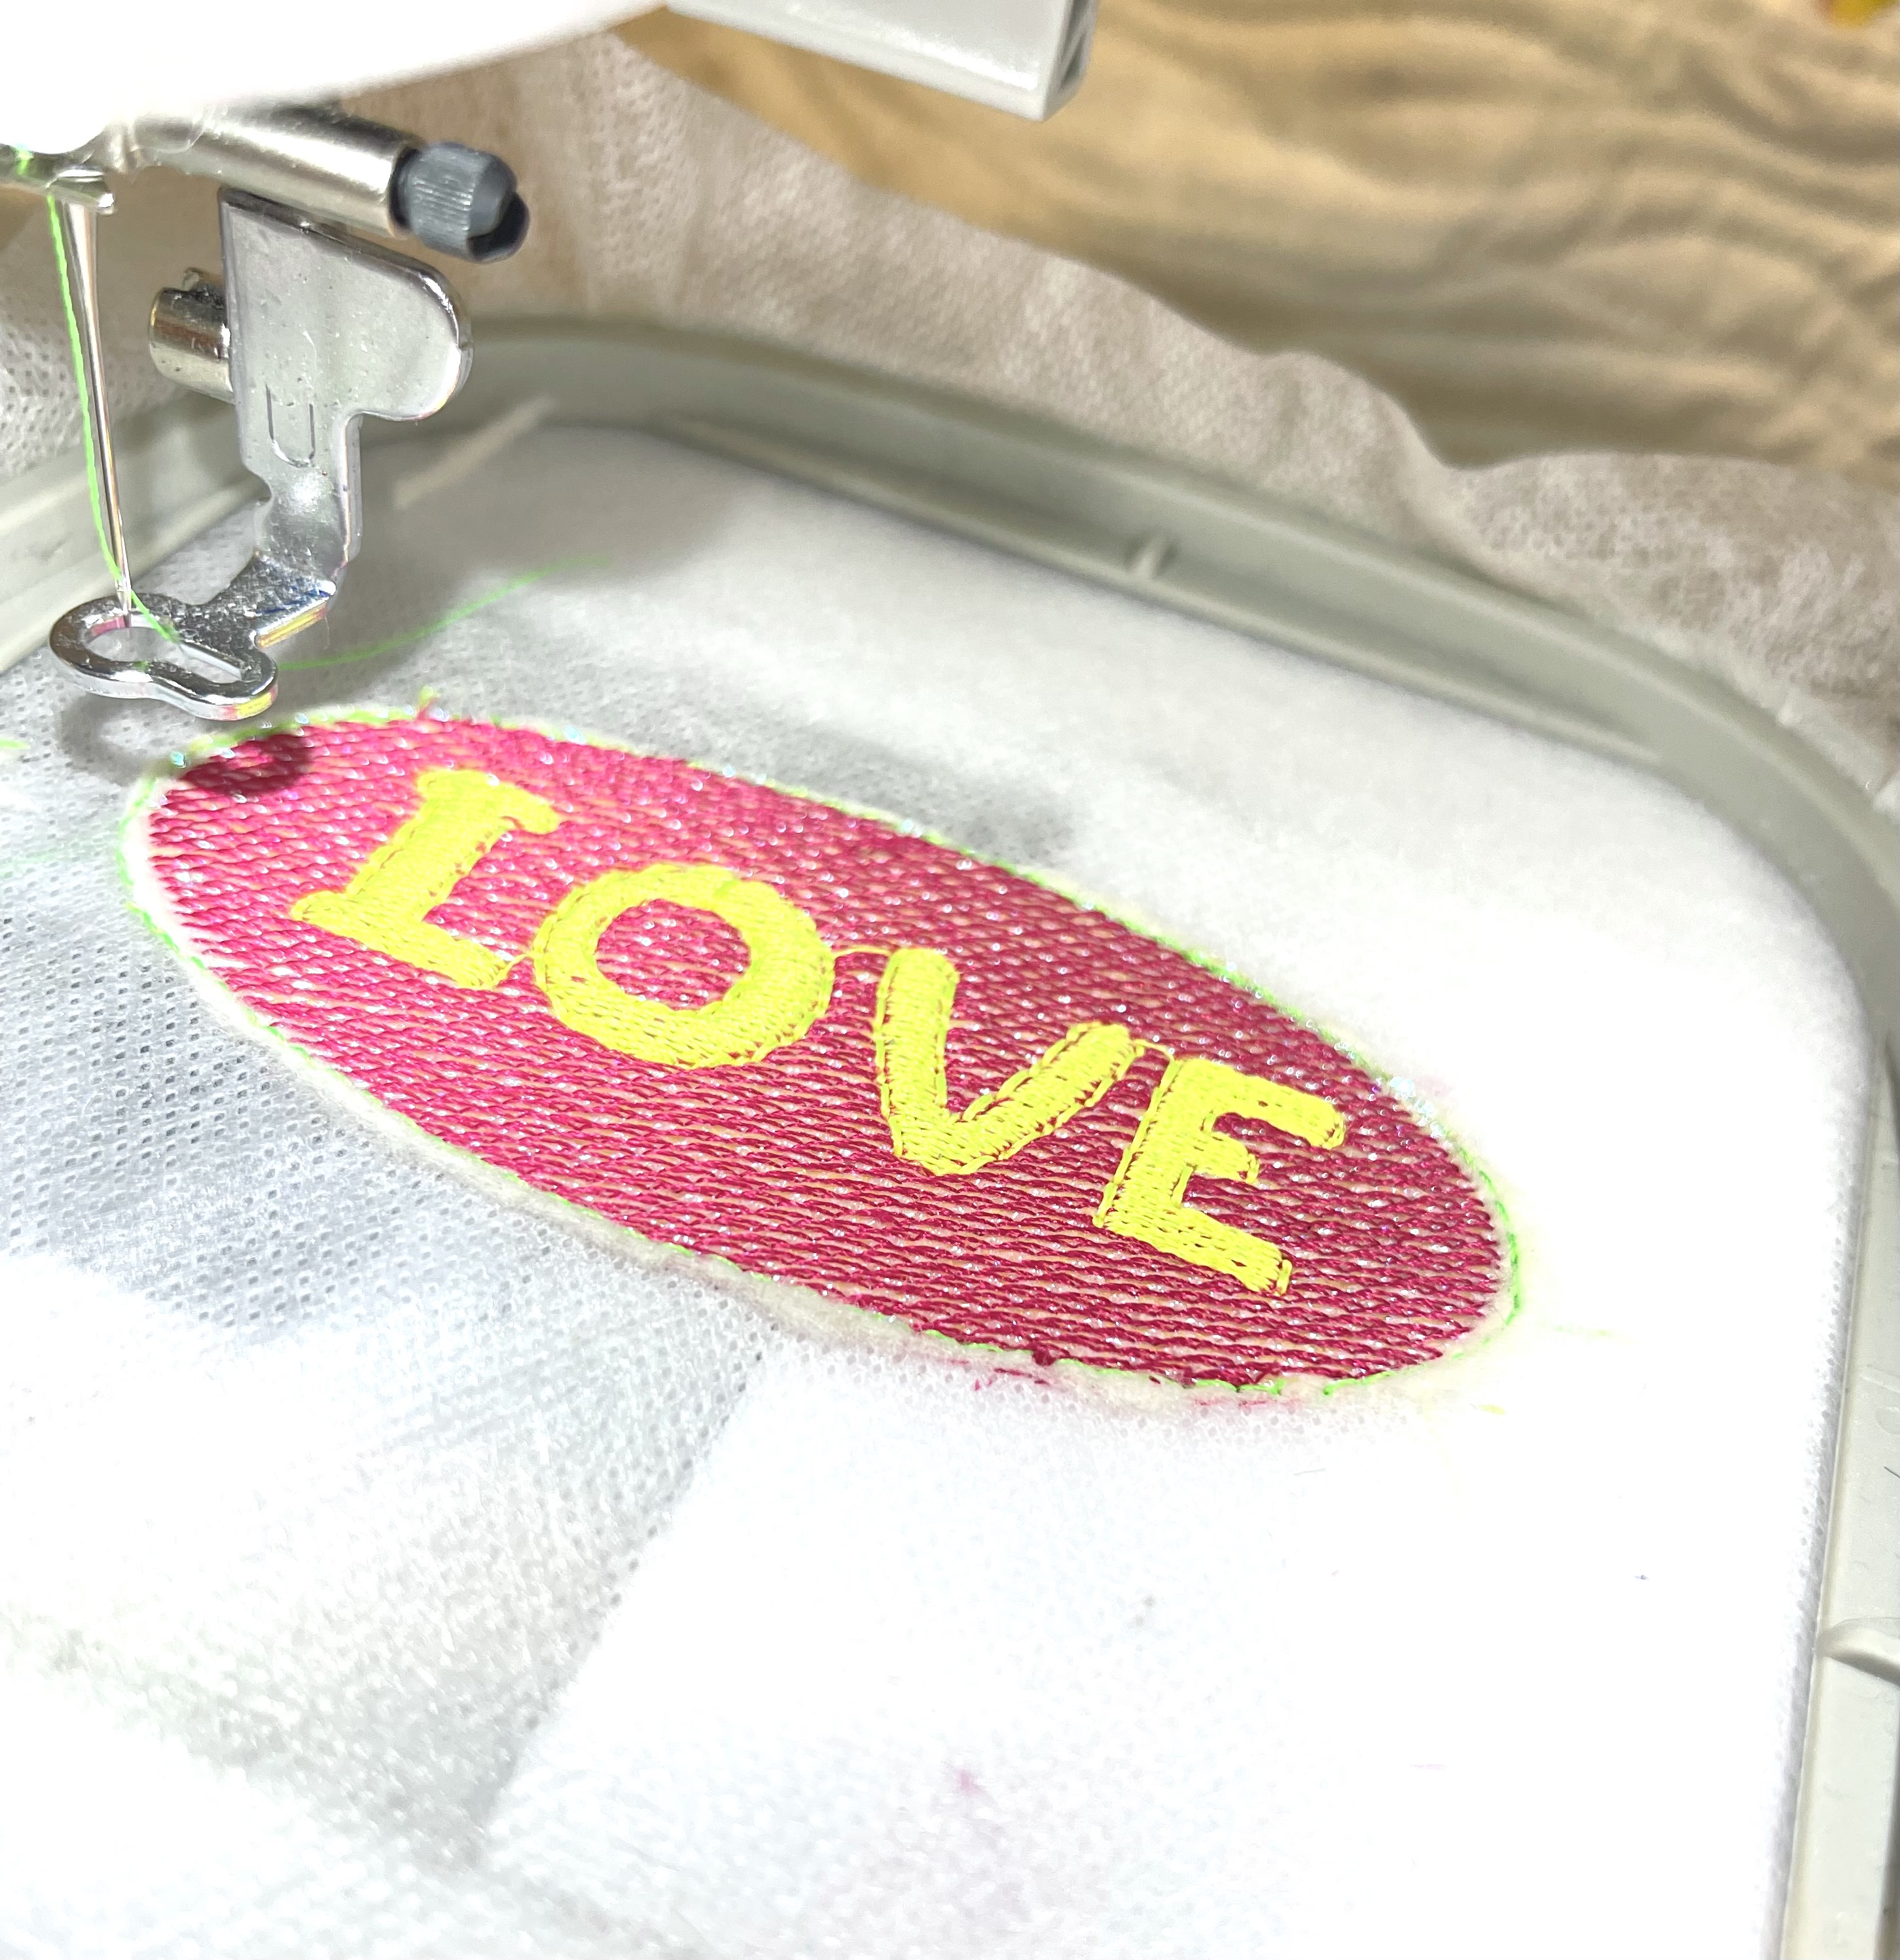
Float the contrasting vinyl over that placement strip and run the tackdown stitches, which may be one or two steps, if you have the decorative version of the applique ornament or just the Straight Lines version. After the edges are done, you can trim the applique piece with your scissors across the top and bottom of the strip. You do not need to worry about the sides as they will be trimmed when you are finishing the ornament.

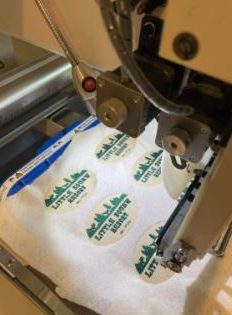
Run any lettering that you added.

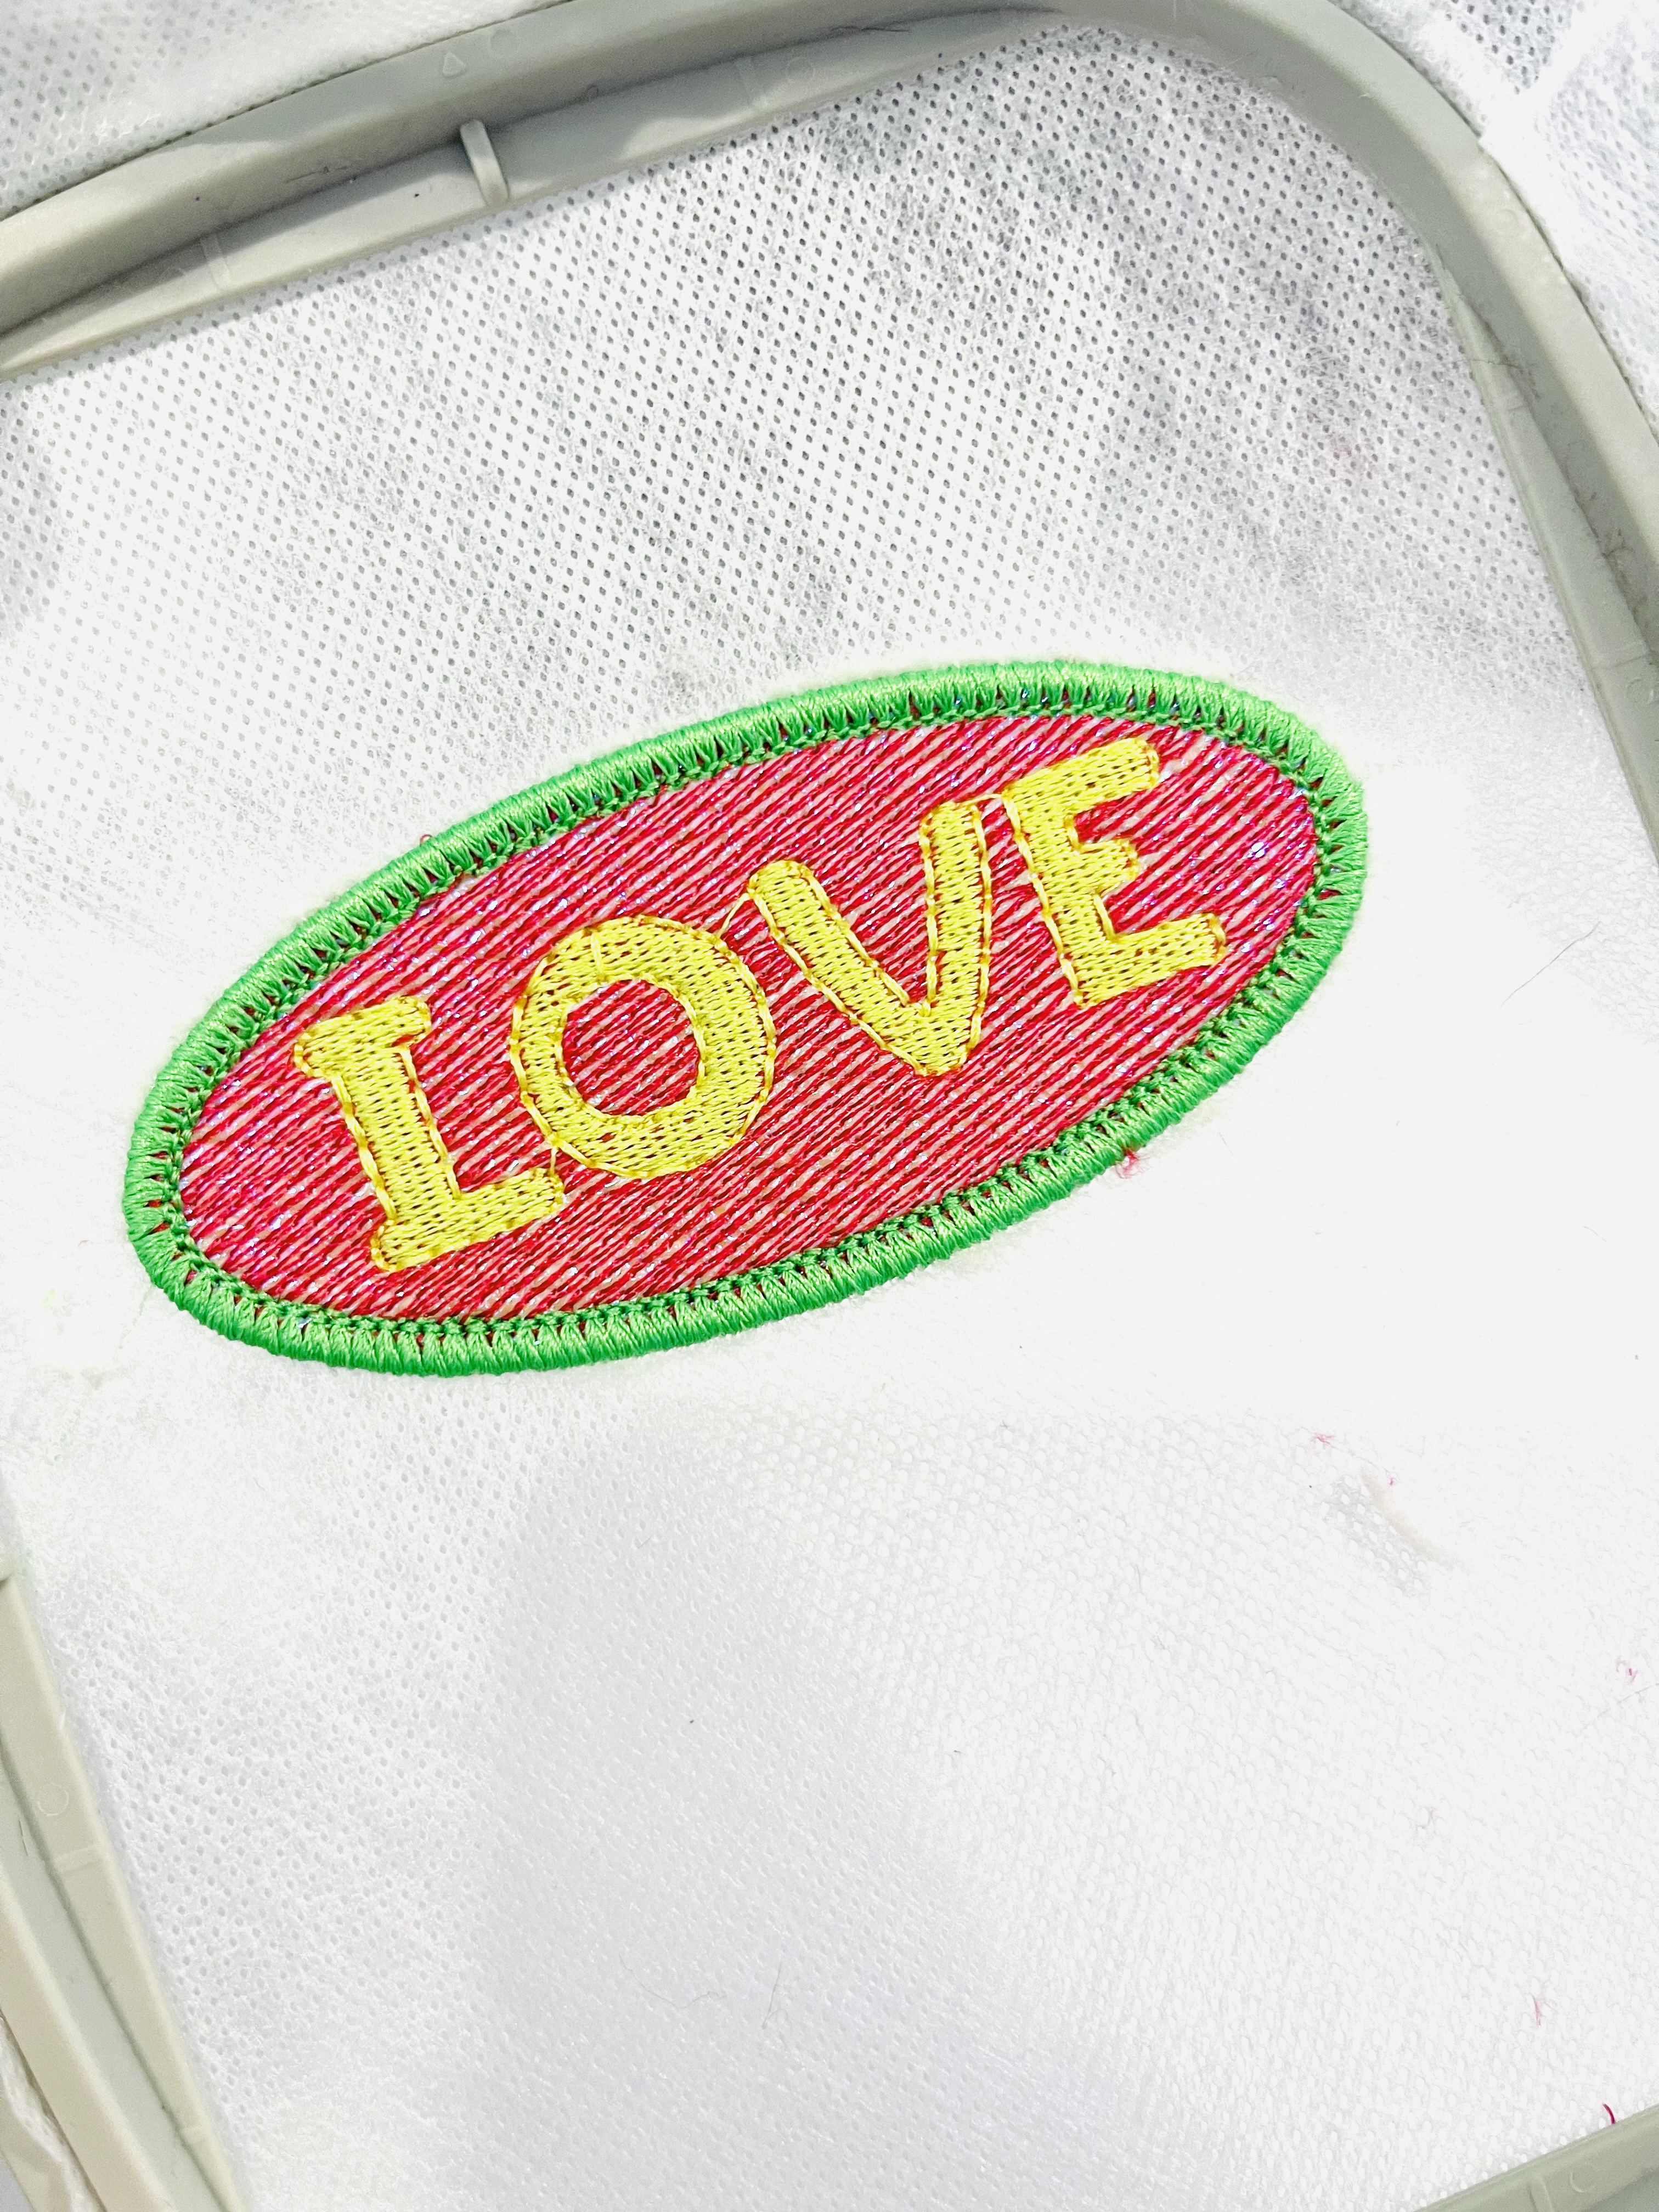
After your lettering is complete, float another piece of the background material on the back of your hoop. You could also use a coordinating vinyl or something extra sparkly and fun. You can secure the backing vinyl with a bit of tape or with some embroidery safe spray like the 505 spray from Odif.

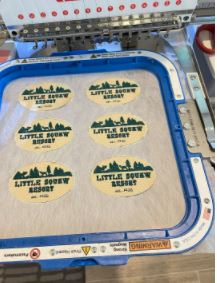
Replace the hoop back on the machine, and run the placement stitch for the eyelet area. Then run the final outline, which secures the front and back together and hides the stitching in between the layers.

Remove your project from the machine and from the hoop, and carefully trim around the outer stitching, leaving about 1/8″ or 3-4 mm.

Punch a hole in the eyelet placement area and set in an eyelet or small grommet.
Tie a ribbon through the hole and you are DONE with a gorgeous personalized ornament that will surely bring some holiday joy!!

I hope that you found this tutorial helpful! You can check out all my ornament designs at Designs by Babymoon and I encourage you to try something new and see what happens! It’s fun to try things out and be surprised at what you can make with the wonderful tools and materials we have at our disposal!

Iridescent merrowed edge patches (a tutorial PLUS freebie!)

tutorial header - making iridescent mylar patches

Here’s a fun way to get a really cool effect for In The Hoop Embroidery Patches

These patches are set up in my Stitch Artist Level Three software by Embrilliance.  I use this as the primary digitizing software for all of my “in the hoop” and embroidery projects because I love the complete control I have over the stitches when I use the various modules together.  In this post, I will explain exactly how I stitched and finished these Iridescent Merrowed Edge Patches. 

Hoop Washaway Mesh stabilizer (like Inspira’s Aqua Magic or Pellon Wash N Gone 541) tightly in your hoop. You only need one layer of stabilizer when running this design.  Run the placement stitch so you know what area of the stabilizer needs to be covered with your material. 

Float a piece of craft felt, then add a layer of iridescent cellophane film over the felt. This film can be found in the gift wrap or basket wrap section of your craft store – choose a neutral clear iridescent color for this effect. I picked up a roll at Michaels that will probably last the rest of my life.  For the felt, select a color that is close to the shade you want for the background since the fill stitch is not completely solid. The fun thing about using the iridescent mylar film is that it lends a cool holographic effect to your stitching with your regular embroidery threads.  

Run the fill stitching for the background.  You can see that if you use different colors you could achieve really creative effects by using contrasting or variegated thread stitching for the fill.  For the black patch (see the main photo) I used a dark grey felt (because it was on top of my felt pile and black felt would have been fiddly to get to right then) but used black thread to stitch the background over the mylar. You can’t even tell that the felt was grey or black, because you get the effect of the mylar through the stitching, so it really is a fun effect to play with. 

Run the patch details in your chosen colors.  For this patch, I chose colors that contrasted dramatically with each other – opposite each other on the color wheel, so they would be fun and groovy and kind of play off the iridescent mylar that shimmers through.

After your details are stitched out, the Merrowed Edge Patch Border will run a single line of stitching.  Use this to help you pull the excess Mylar away. Of course, if the edges of your Mylar piece try to get in the way of your detail stitching, pull it away before you run the details. I get impatient so I pulled mine off right away after the fill stitching. You can run this line of stitching in the same color you will use for your Merrowed Edge. Be sure that you change your bobbin thread to match your top thread for the Merrowed Edge.  

Trim around the felt very close to the stitching line without going into the stitching. Get as close as you can so that you get a really clean edge and don’t have to do a lot of fiddling around afterwards. 

Run the merrowed edge stitching for your patch and admire that beautiful edge! 

Remove your project from the hoop and very carefully trim around the patch edge without cutting into the Merrowed Edge stitches.  If you have excess stabilizer, you can run a damp sponge or washcloth around the edge to further clean up the edge.   

After your patch is dry, your patch is ready to apply wherever you want it! You can use a thermal adhesive cut to fit your patch, or apply it with an adhesive like Beacon Fabri-Tac or Aleene’s Fabric Fusion.  Of course, you can sew it on anything you’d like as well! Sew it on your jacket, cap, or backpack for extra fun (and sparkle!)

I seriously think this iridescent effect is better than glitter (I can’t believe I said that because I LOVE GLITTER!)

Do you want to try playing with iridescent cellophane? Or with patches like this? Head over to my digital embroidery designs website and get this patch design for FREE with code PATCHLOVE! While you are there, check the green banner at the top of the page to see what other specials are going on right now, too! If you make these, please tag me over on Facebook or Instagram #designsbybabymoon because I want to see what cool color combos you come up with and where you are using your patches! Let’s make ALL the LOVE patches!

Merrowed Edge Patches

This is one of the easiest ways I’ve ever tried to create patches on my embroidery machine.  I needed to make a small batch (to me that’s anything less than 100 and needed fairly quickly (within a week in this case).  I only needed 18, but I do like to make just a few more in case of any “ incidents”. Keep in mind that this is only one of a hundred different ways to make a patch. Customize your own patch making by experimenting with lots of different options and materials until your patches come out just as you envision!

These patches are set up in my Stitch Artist Level Three software by Embrilliance. (affiliate link!)   I use this as the primary digitizing software for my projects because I love the complete control I have over the stitches when I use the various modules together.  

I started with digitizing the patch elements, then made sure that I had a light fill running the opposite direction as the elements. I placed this fill behind the elements, so that it would stitch first, then copied that shape and made a rope-like satin border for the raggy version and used the Merrowed Patch Border tool in Stitch Artist Level Three for a perfectly finished border for the smaller one! Follow along and I will explain exactly how I stitched up these Merrowed Edge Patches. 

Washaway Stabilizer should be either Badgemaster (a clear film) or a mesh type washaway like Inspira Aqua Magic or Pellon 541 Wash N Gone

Hoop Washaway Mesh stabilizer (like Inspira’s Aqua Magic or Pellon Wash N Gone 541) tightly in your hoop. For my hoops, I like to be sure that it will be firmly stretched when I put the top of the hoop together, so I use a bit of painter’s tape to secure the edges before I snap on the top.  

I use painter’s tape to temporarily secure my stabilizer to the Magna Hoop base before attaching the top of the Magna Hoop.

Float a piece of craft felt that is 3 mm thick to be the base for the patches. I prefer using polyester or acrylic felt, not wool, so that the patch will be a long lasting product that resists breaking down over time.  Select a color that is close to the shade you want for the background since the fill stitch is not completely solid. 

Run the fill stitching for the background.  You can see that if you use different colors you could achieve really creative effects by using contrasting or gradient stitching for the fill. 

Run the patch details in your chosen colors.  Just a reminder, before you run a whole large frame full of multiples, run individual patches until you get all the details perfect.  Don’t be discouraged if it takes more than a couple of stitchouts.  Thread is fairly inexpensive, and there’s plenty more at your local quilt shop, so don’t be afraid to use the good stuff even when making samples.

After your details are stitched out, the Merrowed Edge Patch Border will run a single line of stitching.  You can run this line of stitching in the same color you will use for your Merrowed Edge. Be sure that you change your bobbin thread to match your top thread for the Merrowed Edge.  

Trim around the felt very close to the stitching line.

Use the most slender tipped scissors you have to trim around the patches before the border is applied. I like using either my Gingher or Kai double curved scissors so I can get down into the hoop well.

Use very fine point scissors to get as close as possible to the stitching line. Take care that you only cut the felt, not the stabilizer.  If you have to “frame out” your frame in order to get access to trim all the patches in your hoop, be sure to return the hoop to the stopped position.

Don’t ask how many times I have forgotten to do this. It’s a lot. I should know better.

Run the Merrowed Edge stitching for your patch and admire that beautiful edge! 

Remove your project from the hoop and very carefully trim around the patch edge without cutting into the Merrowed Edge stitches.  If you have excess stabilizer, you can run a damp sponge or washcloth around the edge to further clean up the edge.  

After your patch is dry, your patch is ready to apply wherever you want it! You can use a thermal adhesive cut to fit your patch, or apply it with an adhesive like Beacon Fabri-Tac or Aleene’s Fabric Fusion.

Monogrammed Bone Pillow Project

I’ve had fun playing with Accuquilt dies since December 2020. They make accurate cutting for quilt projects so simple but some of their dies are more than just for quilting! This Burp Cloth Die is a favorite for quick and easy burp cloths for babies for sure and it has replaced the pattern that I used to use because this way is just SO much faster and is the perfect shape!

Having played with a similar pattern in the past for a “bone pillow”, I realized that the Accuquilt Bib Die was almost exactly the same shape, so I drew up a little tutorial for using that die and using embroidery elements to create a perfectly customized project. You can get the tutorial over at my Designs by Babymoon website, as well as the monogram frames that I’m featuring with these pillows. They are perfect gift for grandparents, college students, new homeowners, travelers, and kids. Practically everyone! I used the amazing Luxe Cuddle from Shannon Fabrics to make my samples and I’m so happy with how they turned out!

The first one

It just came through the laundry. For the 500th time. The one who owns this quilt is now 11, nearly 12, and I started piecing it before he was born and got around to finishing it a few days before his little brother was born.

I didn’t know what I was doing at all, just that I needed to make it because this kiddo didn’t get one from his great grandmother like some of the older ones did. It’s just simple rectangles, but I remember that I was scared of messing up, so it seems like piecing took forever. Probably what really was the issue was not having a proper space to cut and arrange, so I had little stacks of colors on the corner of the very small table I was working on. What I know now is that having a clear surface to work on is a big part of what my brain needs to focus on a single project, instead of 45 half finished projects cluttering everything up.

After I pieced the top, it sat while I just recovered from him being born (it was traumatic) and moving, and after we were finally settled in a new house, I got it back out and did a lot of free motion meandering on it, not knowing there was more that could be done.

The binding doesn’t really match, but I remember as soon as it was done, Judah called it his Happy Quilt, so that name has stick. Happy Quilt has been washed so many times and yet it is still intact. It’s amazing to me that it has held up despite all that I didn’t know. I’m glad Happy Quilt is doing it’s job well and is still in service and very much loved.

Done is better than perfect, and just starting is better than not.

These Accuquilt dies are so magical to me. I’ve always been pretty happy that I could cut a straight line, maybe a little arrogant about it, but I’m terrible at making triangles the correct size or squares exactly square. It’s the math of it all that makes me freak out a bit. And then having to duplicate the cutting the exact same way a hundred million times for a single project and that was it. I’m out. But since I started hoarding collecting dies, I’m finding that there is a lot of fun over here on the quilt-y side of sewing.

For the last few weeks I’ve been practicing some FMQ (free-motion quilting) techniques. These were kind of frustrating in the beginning, until I went to a local quilt shop just to talk about it with someone (this is the part where we diverge from the “crafting is cheaper than therapy” mantra, because I’m pretty sure my therapist is cheaper – and covered by insurance!) My quilt shop compadres asked, did I have gloves (no), did I have the right foot (yes, but I bought a ruler foot too, just so I could fall back on using rulers if I had to) and did I try out the long arms yet? (yes, surprisingly they let me drive one everytime I go in! It’s easier to test drive a long arm than it is a new car, that’s for sure!) Ugh. The longarm seems like it would be so much easier. And faster. But I have this gorgeous new sewing room that I filled up with the things that were overflowing from all over the rest of the house and I don’t really have room for a long arm until at least several more kids move out. (yes, there are a lot of kids here!) So, I go back and take the new gloves and the slippy slidey slider mat home and practice some more.

It’s like an attempt to get inside the mind of the woman who was entranced by the Yellow Wall Paper. Maybe she needed something like quilting to practice, as an outlet for the anxiety she experienced. My stack of practice quilt sandwiches is my yellow wall paper pile, and I’m just keeping them close in case…I don’t know why – maybe to ward off the anxiety.

Somewhere on practice run 5 or 6 something clicked. I wasn’t having to force the curves and loops and they just flowed. like really happened. So I went a little faster and decided I needed to try it out on a real quilt. But I’m still to chicken to do that much so I broke out a new Accuquilt die, the spool block and made a few of those up, thinking they were going to sit horizontally in a row. I am still working out of a box of mask scraps, so there is plenty of raw material there. Enough to get three little spool blocks out. And then white background.

The spool blocks finish up at 6 inches, so I cut some 2.5 inch strips from the white to use as a border, and decided that would work between each block, but it felt better to do the blocks vertically at this point, and then I could hang it on the wall – I need a few more soft things on one side of the room to absorb the sound just a little more.

Of course, then I got distracted by wanting to have a quilt label, not that these are heirlooms or anything, I just feel like it’s important to practice all the other things on even the little things so that I will remember to do them on the bigger things when I get to that point. So I digitized a little quilt label really quick and embroidered it out, then used a few more scraps from one piece of beautiful fabric that I’ve been saving from scraps for the last 15 years to frame it out, and then inset it into the backing so it’s not an afterthought, it’s part of the whole thing. One of my sewing inspiration friends always said “done is better than perfect” so I took her mantra and used it to help me push through this project. But I may have to use this saying on many more of my quilts. It makes me happy to integrate her wisdom into my little sewing quilt.

Thank you, Rowena! Your words are forever part of my process.

Then the quilt sandwich. I love doing this. It’s like a mark that the quilt top is actually going to become an actual quilt. Like a REAL quilt. Like when a tadpole gets his legs and starts to look more like a frog.

What’s for dinner? Quilt sandwiches! Just kidding, Paul offered to cook after I started in with the yellow wall paper thing again.

And then some deep breaths, but I remember that I JUST today made some pretty swirls and swoops and can do it again. Just change the machine foot and get on with it! Swoop, swirl, swish, loop, swoop swoop swoop. It’s easy to get lost in the process, like a rhythm that takes over and you just feel it and no longer have to think. swish-swoop-swish-loop-loopy-loop.

Oh, there’s that feeling again. I should have made the quilt bigger. It’s already over? I think I like this part the best. The QUILTING part of quilting. I like the piecing, and I like the arranging, but I LOVE the quilting. I don’t have a word for it yet, but maybe the word will come in time. Or maybe there’s not a word, just the feeling, but I want to feel that more, because it is just so freeing. Just the rhythm of the swirling, and keeping the stitches consistent. It’s coming, and I can feel it. I didn’t expect to get this part already. If it didn’t turn out, I could just put it in the yellow wall paper pile, but it’s definitely looking good. All swoops and swirls in the background. The spools themselves are just a tight back and forth, to give the idea of thread, made out of thread, on a block that forms the image of a thread holder. It’s all very redundant. But still so satisfying.

I know that I could harness the digitizing of machine embroidery to get a technically perfect quilted pattern, even to accurately fit this block, since everything lined up perfectly, But I still want to do it like this, with this free motion low tech process. It connects me more to myself in the process, removing the computer and the software. It’s just me and the machine.

Quilt as desired is such a big scary sounding proposition. But maybe it’s just the infinite possibilities. I’m getting braver for sure.

Since it came out OK, and actually accurately square (rectangular) it can hang. When I bound it with the same gradient material as the grey spools, I slipped two little triangles in the top corners and asked Paul to hack off the ends of a small dowel to slip in to stabilize it as a hanger. Perfect. And now it’s hanging (appropriately) over one of my thread cabinets.

Done is better than perfect, and practice gets you closer to the done part quicker. But in order to get done, you just have to start.

Exploding Heart QAL – getting cozy with HST’s

What better way to jump full into this new obsession than by joining a Quilt A Long (QAL for short)? While lurking in the quilting facebook groups I saw this dramatic quilt and decided that since the whole thing was broken up into manageable parts, maybe I would be able to keep up.

I got the downloadable pattern from Slice of Pi and printed it out and started thinking about the colors that I wanted to use. The weekly QAL emails from Laura were super helpful and encouraging, giving me a little bit of confidence that this project could be completed even by a beginner like me. She guided us through the fabric selection as well as the cutting, and I’m really glad that the pattern included the cutting directions for using the Accuquilt Die system. I can cut long straight lines, but the precise cutting of small bits still eludes me, so having HELP really helps! One of the secrets of quilting – piecing really – is that the finished piece is absolutely dependent upon accurate cutting at the very beginning. Once I’ve gotten that HUGE part down, all the rest seems (seams?) ridiculously simple. The fabrics I chose were really random bits of small pieces of fabric that were from various other projects. I know of two fabrics that were specifically from dresses I made for my girls when they were little, and it’s nice to see them again preserved here since those dresses have long since left the house.

Week by week Laura’s emails came, explaining what to do, so I set time aside after all the regular things were finished to work on the Exploding Heart. I was really surprised by how quickly things came together with a manageable plan in place. I understand the value of a well written plan, but I got to put myself under someone else’s plan and just let them tell me what to do for a while, and I’m really glad that I didn’t try to break any rules with this project.

Within a few weeks the quilt top was completely done, and it is just waiting the quilting. My excuse for the last few weeks is that I didn’t yet have the batting, but that just came in (Hobbs Heirloom batting in black – which wasn’t in stock anywhere in town). So now the batting is here and I think I will be using a backing that is black with pink polka dots for a little bit of fun on the back. I need to add borders to give it just a bit more width and length. I do have a little quilting plan for the black areas, and I’m just going to let the colorful areas pop.

Overall, I’m really kind of excited that I was able to follow the directions AND that it came out so well so far. I’ll update again when I have the other parts done, but I just wanted to share the progress so far.

Snovid 21: Quilt in Waiting

So this particular blanket – I hesitate to call it a quilt, except I did some “quilting” – has been in process and waiting to be finished for – oh, 12 years. I started with this piece of fabric thinking it would be sweet for a baby blanket. I picked up the fabric from Hobby Lobby after we had packed up my sewing room in preparation for a move, so I only had the bare minimum to work with. The fabric has a sweet little pattern, that I used some scraps to applique a really simple element in the lower right corner of the fabric piece. I probably was thinking that I would back it with flannel and add a simple crocheted edging, but I never got around to it.

At some point last year, I actually added a very thin batting and a thicker luscious Luxe Cuddle® Velvet, which unfortunately has been discontinued (but I’d still recommend a regular Cuddle®) for the backing!

And it still sat

So when we lost power during the ridiculous situation that we are still traumatized by, this little quilt sandwich got added to the pile of blankets that needed to be finished!

Really, since I had already appliqued the floral element at the bottom, I didn’t really want to add anything else – I really just wanted to get it done and out of the unfinished pile.

Here is where I had some fun. I dropped the feed dogs on my sewing machine and just started echoing around the floral element. That’s pretty much it – I worked to keep the stitches someone even, since it was just really loose free motion quilting, but I went out further and further from each previous run, not in a measured way, though.

I kept peeking at the back, because part of the magic that I am loving seeing is the BACK of each quilt/blanket as it is coming together. There is so much MAGIC that shows up when you quilt, especially in all the negative spaces, and especially on the backs, when you use minky fabrics like the Cuddle®.

::swoon::texture


And then the binding. Feeling a little cocky, I cut binding strips at 2 inches, forgetting that cotton binding works best at 2.5 inches wide. But the strips were cut and really just needed to get on there, so I bound it with the machine instead of by hand so that I could just zig zag the edge of the binding on.

Zig zag that super skinny binding on – see it’s fine!

Now, I know there are LOTS of mistakes here. But really, this little blanket is warm and charming, and I still geek out about the magic of the echo quilting on the back in the minky. What’s the goal here. Well, just get it done, really. And I learned to remember to pay attention to cutting the binding at 2.5″ instead of 2″ so that there is more than 1/2″ to wrap around and attach. No way was I going to fight layers to attach that by hand. The zig zagging is just fine. I hope the quilt police don’t come after me on that one. Done is better than perfect, and really, it’s WARM and cuddly, and even cute!

More practice – piecing like there’s no tomorrow

So if there really is no tomorrow, I better use up all this fabric today, right?

I am determined to unlock all the secrets of the triangles. They stretch and bend and act all weird when they are cut at different sizes. I tried a couple of things that I’m certain are quite basic to experienced quilters, but if you are on the “teaching an old dog new tricks” side of things like I am, you understand having to learn the thing for yourself.

This Carpenter’s Square pattern from Jenny at Missouri Star Quilt Co. has been on my list since before I committed to learn this. I think this may be the quilt that pushed me into the whole process! Having a carpenter hubby I have been fairly motivated to make this star as the first star pattern that I needed to master. First one I thought I’d just use some random grey fabrics. Not a great choice, but after getting them all cut out and it all being practice anyway, I just pushed on. It’s not terrible, but it’s not great either. If I do greys again, I will do solids for the star shape and then a very pale grey for the background. I am finding that I really prefer the lighter backgrounds right now, but that can change! I just know that I’m not planning on any brown quilts at all.

The MSQC pattern calls for 10″ blocks, but I was certain that I could use what I have and make 8 inch blocks with my Accuquilt 8 and 1/2″ square dies and half-square triangle dies. And figuring that if I was right, I could use the smaller dies in my collection to adjust downward as well. (spoiler alert – it worked!)

Cutting and piecing the top was surprisingly fast. In my head, a quilt takes years to make, but I think that’s just the fear of the thing. I was always astonished with how many quilts my grandmother made, but I just assumed that was all she did. Looking back, she had a full-time job, so it must have been that she just sewed as time allowed, so my perspective was just uninformed. I wish she was still around so I could ask her all the questions now. She did make gorgeous applique block quilts with really detailed hand applique. Her sewing machine was a simple Singer from 1945 that was a wedding present. Sometime after she died that machine mysteriously disappeared from their house. Such a loss. It sewed so many beautiful things. The last time I got to use it was when we stayed with my grandfather for my other grandmother’s funeral (the grandmother on the other side of the family). I had an unexpected hem for one of the kids that needed to be done so I tried to summon up all the memory I had of how to use her machine. It had NO bells and whistles, but it was a beautiful machine with the most excellent straight stitch.

After the cutting and piecing, I wanted to see the whole thing. Before the final press I clamped it to the shelving in my sewing room.

Oh look, cords everywhere.

Then I remembered that the photography background that I have rarely used might work for a photo, so I set that up on the porch and gave it another go after I pressed the quilt well. Really, I’m happier about this serendipitous “quilt photo stand” than I am about this particular quilt top! But I see many more opportunities now that I know this is not a terribly long process!

Pieced top, photo backdrop frame, porch happiness !

Here’s the second one done this morning with 4 inch dies from the 8 inch Accuquilt Qube. It seems so tiny at 32 inches x 32 inches right now, but I’ll add 4 inch borders, too, so I can practice some in that area. But I’m MUCH happier with these colors, and will continue to choose these bright, soft colors until I figure out exactly what I am trying to do here.

Soft cool pastels -and only one « significant « signature block

The quilting bit is already forming in my head. The reason I am compelled to get these out is because I REALLY want to play in the negative space. The negative space is just the thing that is pulling me farther and farther in. It’s the part that really has excited me about the whole quilting process, and it really didn’t hit me until recently that it was the magic of the negative that was where I was headed. Having a plan is half the battle!

Snovid21: blanket kit: rodeo

So, it’s actually Rodeo time here, and the show must go on, despite a global pandemic. How fitting that I completed this Rodeo themed blanket this week as well.

This kit was from Shannon Fabrics – it’s a strip-quilt that comes with several cuts of wonderful fabrics for the top and binding, and you get to choose how to divide up the included fabric and set the stripe pattern. The fun part is that you assemble the whole thing “quilt as you go style,” do when you get the last strips on, you have already quilted it across all the layers.

The process is simple: choose backing, spray baste a batting on, and start stitching the strips on through all the layers, stitch and flip style. Before long, my blanket was complete. I simply squared it up and applied the binding. And voila, snovid21 quilt 4 was complete.

I chose to let the printed panel shine as an uncut centerpiece of the blanket, and arrange the other stripes according to the suggested layout. The kit includes several suggestions for laying the strips out and very detailed instructions for cutting, assembling, and sewing. it’s a great starter project if you are new to seeing with Cuddle and Luxe Cuddle fabrics, and a chance to build some skills and practice sewing in a straight line!

I chose a batting that didn’t require close quilting, but I think I may go in and do a little bit of machine quilting even though it’s already bound. If I add that I will update this post to reflect how that went.

%d bloggers like this: